Introduction to J Channel
J Channel, If you’re planning a siding project or renovating your home’s exterior, you’ve likely heard the term “J Channel.” But what exactly is it, and why is it important? This guide breaks down everything you need to know about J Channel in simple terms. From its uses to installation tips, we’ll help you understand how this small but mighty component can protect your home and enhance its curb appeal. Let’s dive in!
What is a J Channel?
Definition and Purpose
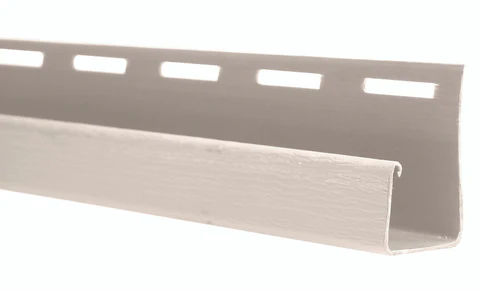
A J Channel is a long, narrow trim piece shaped like the letter “J.” It’s commonly used in construction to secure siding panels around windows, doors, and corners. Its main job is to direct water away from your home, preventing moisture damage.
Materials Used
J Channels come in different materials to suit various needs:
- Vinyl: Lightweight, affordable, and low-maintenance.
- Aluminum: Durable and resistant to rust.
- Steel: Strong and ideal for harsh weather.
Most homeowners choose vinyl J Channel because it’s easy to install and matches vinyl siding.
Common Uses of J Channel
Residential Applications
- Around Windows and Doors: J Channel holds siding in place and creates a clean finish.
- Roof and Soffits: Guides water away from the roof’s edge.
- Corners: Hides rough edges and adds a polished look.
Commercial Applications
- Office Buildings: Provides a sleek finish for exterior walls.
- Retail Spaces: Protects siding while maintaining a professional appearance.
Benefits of Using J Channel
Why should you use J Channel in your projects? Here are the top perks:
- Durability: Resists weather, insects, and rot.
- Aesthetic Appeal: Creates clean lines and hides cut edges of siding.
- Easy Installation: No special tools needed—great for DIYers.
- Cost-Effective: Prevents costly water damage over time.
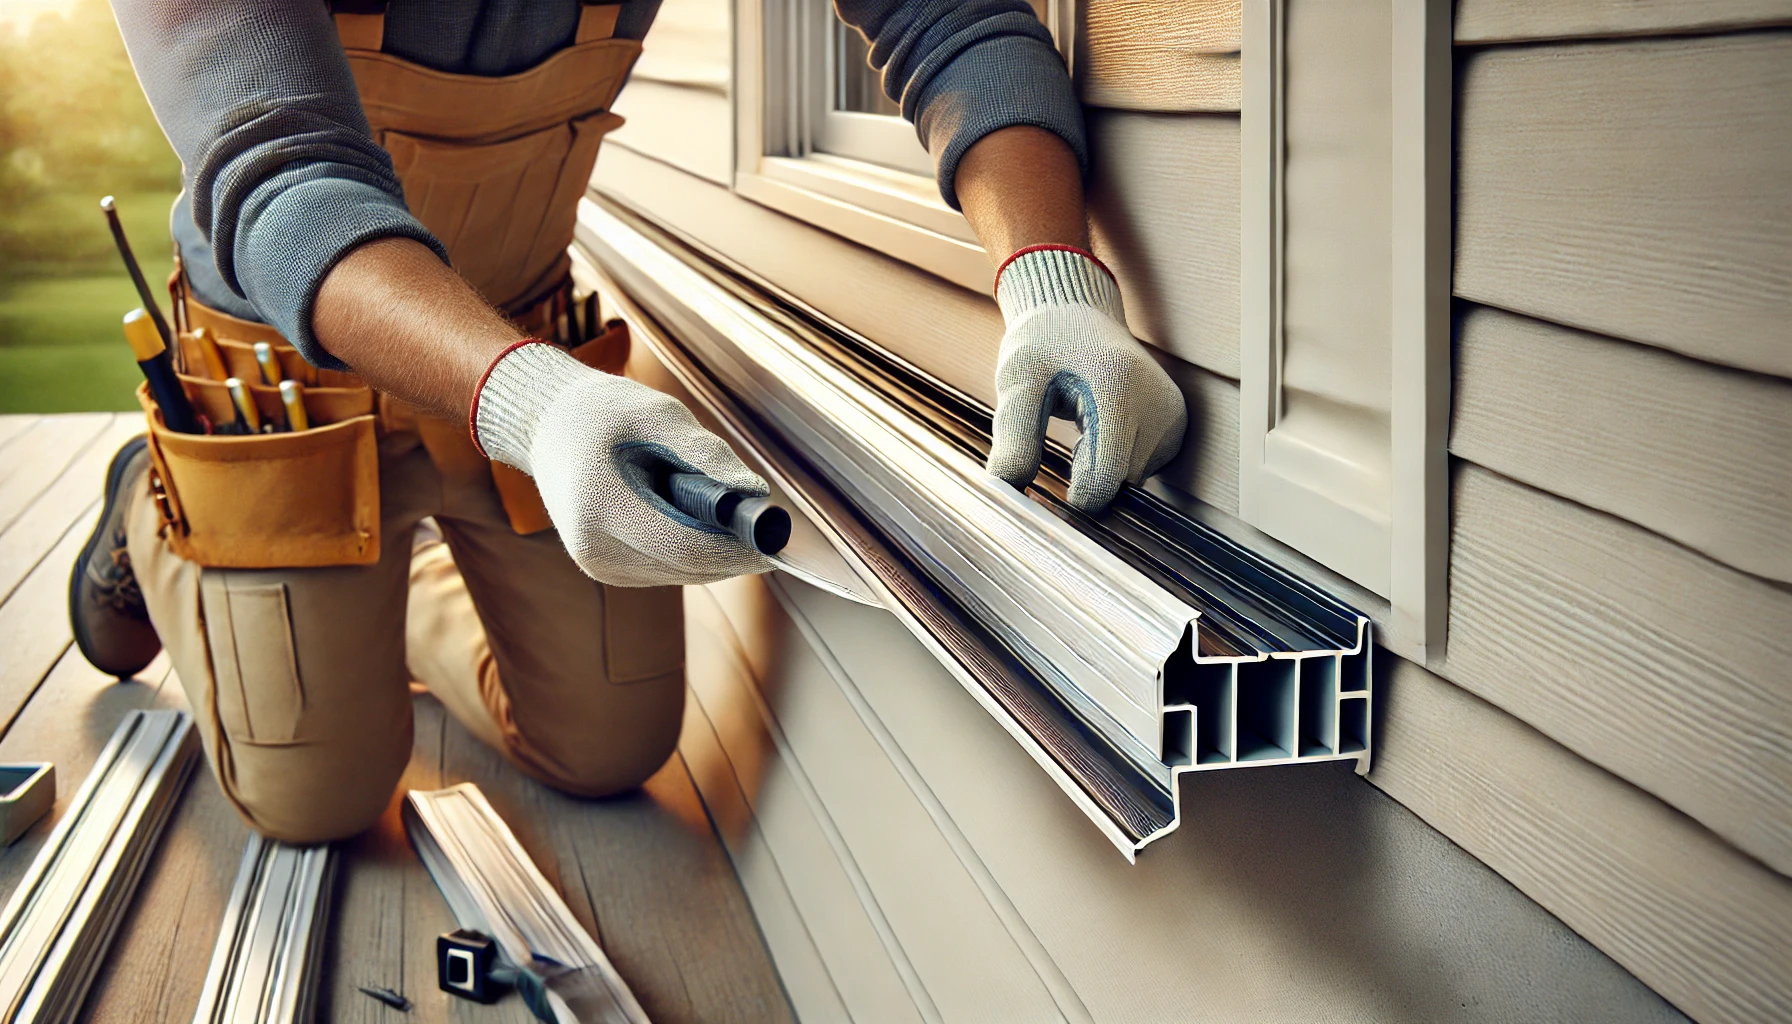
How to Install J Channel: Step-by-Step Guide
Tools You’ll Need
- Tape measure
- Utility knife or tin snips
- Level
- Hammer or nail gun
- Safety gloves and goggles
Installation Steps
- Measure: Cut J Channel to fit the area (e.g., window frames).
- Position: Place it where the siding will meet the structure.
- Secure: Nail it into place, leaving a small gap for expansion.
- Seal Gaps: Use caulk to prevent water leaks.
Tips for Success
- Always cut J Channel slightly longer than needed.
- Check for levelness before nailing.
- Avoid over-tightening nails to prevent warping.
Choosing the Right J Channel for Your Project
Material Considerations
- Vinyl: Best for humid climates and vinyl siding.
- Aluminum: Perfect for coastal areas (resists salt corrosion).
- Steel: Use in regions with heavy snow or wind.
Size and Color Options
- Match the J Channel’s width to your siding’s thickness.
- Choose colors that blend with your siding for a seamless look.
Maintenance and Care Tips
- Clean Regularly: Wash with soapy water to remove dirt.
- Inspect Annually: Look for cracks or loose nails.
- Repaint if Needed: Use exterior-grade paint for metal J Channels.
Conclusion
J Channel might seem like a small detail, but it plays a huge role in protecting your home and boosting its visual appeal. Whether you’re a DIY enthusiast or hiring a pro, understanding how to use J Channel ensures your siding project lasts for years. Ready to get started? Grab your tools, pick the right J Channel, and transform your home’s exterior today!